We assume that you already created the Value domain Account and gained the Domain in that service. Now we expect that you want to publish your web site or services hosted at your home network.
Your Internet access is given via the Internet Service providing Public IP address to your Broadband Router which is NOT a Fixed IP address.
Value Domain has its own DNS server so that your Public Internet Domain name can be hosted at public DNS server. By default, the IP for your public domain name is set to Value Domain’s rental Server. Rental server is free for a month but, following month will cost you.
www, ns, mail etc are to be addressed to the ip address of your Home Server.
Dynamic DNS services provided from Value domain will help this.
*On the other hand, you need to know how your Broadband router can Transfer the traffic to your internal network server from public IP access. (It depends on the router you use. In general, this function is found at your broadband configuration console in the word such as “Open Port”, “Port Transfer”, “Port Translation”, or “Port Transmission”. Traffic coming into particular TCP port on Broadband Router public NIC can be sent to the particular port on particular node of inside network.
Step 1 – Configure DNS Service on Value Domain.
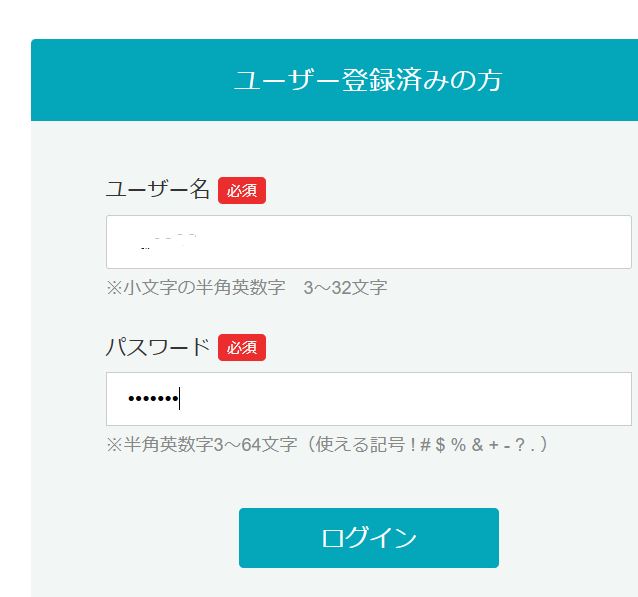
- Log onto Value Domain Console.
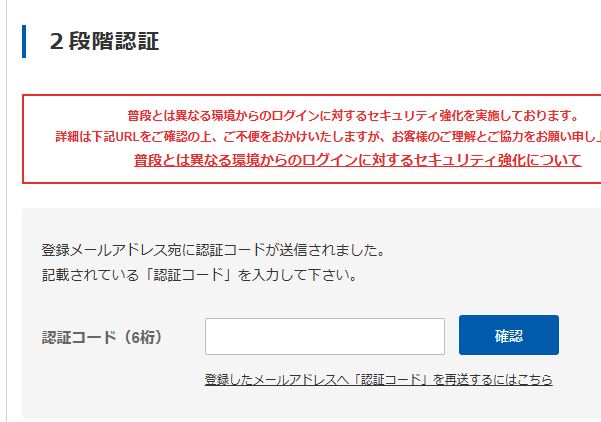
Note: You may go through MFA process to login.
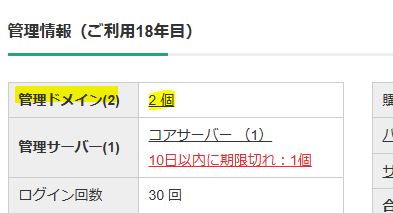
- Go to Domain Management (管理ドメイン) (by clicking the number (n 個) of Domain you have)
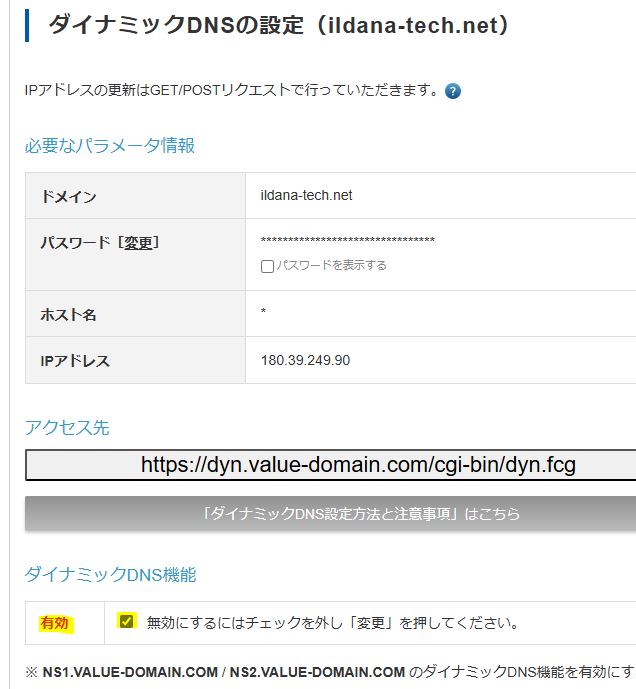
- From the domain you have, click the “Dynamic” (ダイナミック) icon from the one you want to adjust.

- At 1st time, the password is not set, go to Change (変更) at Password (パスワード)
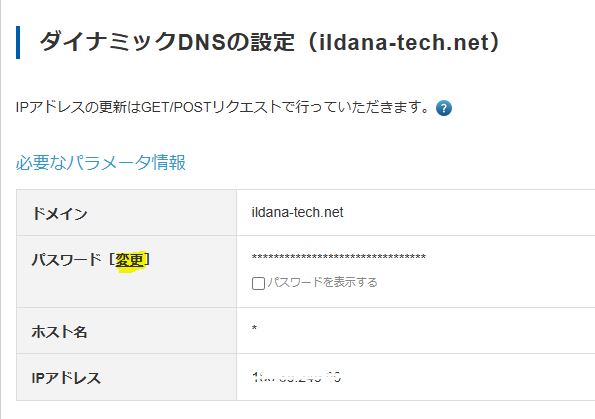
- Input the password. (This password is used at the script for updating the IP address according to your Broadband Router Internet public IP address which often changes).

Scroll down and click Change (変更)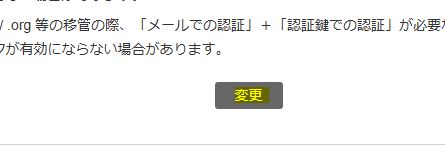
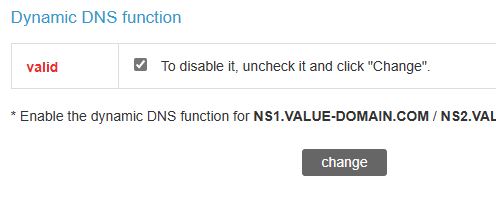
- Check “Dynamic DNS setting”. It has to be “Enabled” (有効) and tic is turned on.
English
- Now the DDNS is ready at DNS server end.
Memorize this.
Step2 – Testing Dynamic Update.
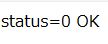
- For testing the DDNS, you can type the below from your browser address bar.
“https://dyn.value-domain.com/cgi-bin/dyn.fcg??d=<Your-Dns-Domain-Name>&p=<Password-You-Set-A-Moment-Ago>&h=*”
<Your-Dns-Domain-Name> = example : ildana-tech.net
<Password-You-Set-A-Moment-Ago> = You configured it at above steps.
- You will get the below return in browser window.
Step 3 – configure the automatic update in task scheduler (Windows) or Cron (Linux)
- For Linux
- Create the script file as below. (Permission should be set to r-xr-x—)
#!/bin/bash
cd /var/tmp
wget “https://dyn.value-domain.com/cgi-bin/dyn.fcg?d=<Your-Dns-Domain-Name>&p=<Password-You-Set-A-Moment-Ago>&h=*” - Place the script file into /etc/cron.hourly
- Create the script file as below. (Permission should be set to r-xr-x—)
- For Windows
- Create the powershell Script as below.
Invoke-WebRequest -Uri “https://dyn.value-domain.com/cgi-bin/dyn.fcg?d=<Your-Dns-Domain-Name>&p=<Password-You-Set-A-Moment-Ago>&h=*” - Configure it in Windows task scheduler so that it can automatically run in better timing.
- Create the powershell Script as below.