Step Summary
| 1 | Access to Virtual Machine |
| Complete Windows server Installation | |
| Ctrl + Alt + Delete, How? | |
| 2 | Name the Server Computer |
| 3 | Configure IP address/IP Settings |
| 4 | Enable Remote Desktop Access |
| 5 | Configure Time zone |
| 6 | Configure Firewall |
| 7 | Configure Performance Settings |
| 8 | Update Windows |
| 9 | Connect Your Workout VDI to Training Network |
| Option | Configure Extra Drive |
Access To Virtual Machine
- Once you get into the Workout VDI, you will access to “http://avalon.ildana-tech.net”.
- You will log into the Self-Service Console via your Avalon Account.
- Go to the Hands-On Training Machine, select the combo you have reserved.
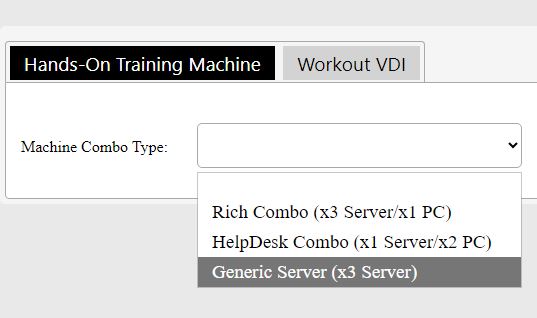
- Confirm your Combo machines are ready/In-Use.
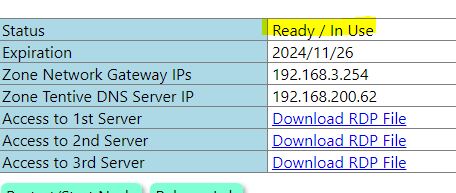
- In the table, you will see machine access links. As per your combo, you can access multiple machines.
*Here you may notice that the zone IP address configuration parameters is supplied. You will need to use this information later.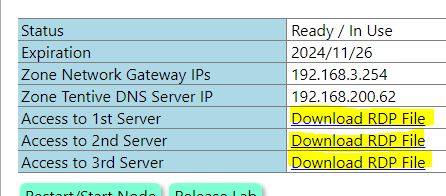
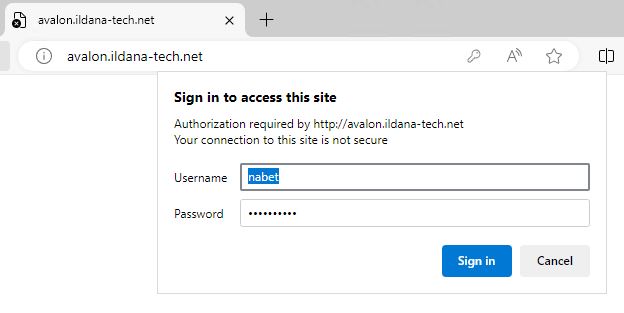
- Click it and download RDP file, open RDP so that you access to the Machine virtual Screen.
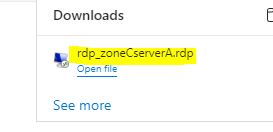
- You will be requested to submit your avalon account credential. Enter it.
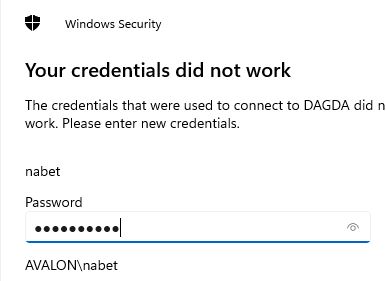
- You will see the Virtual Screen shows the Display output.
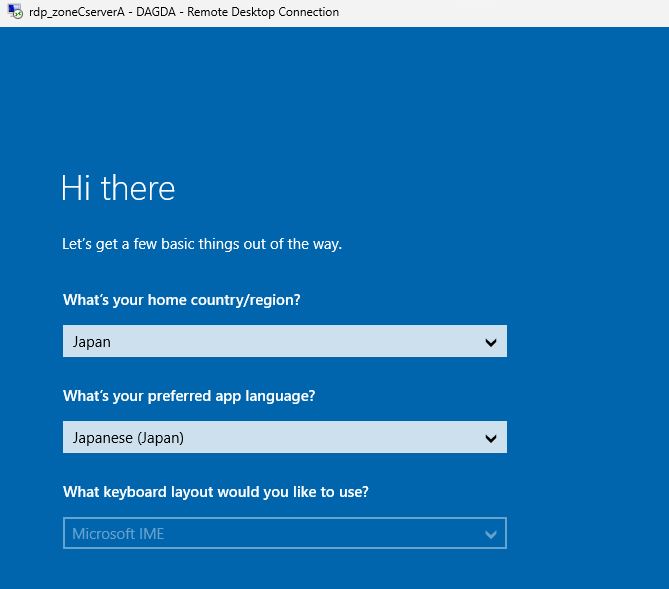
*At 1st access, you will see the Virtual Windows Server waits at the stage of OS installation final step.
Complete Windows server Installation
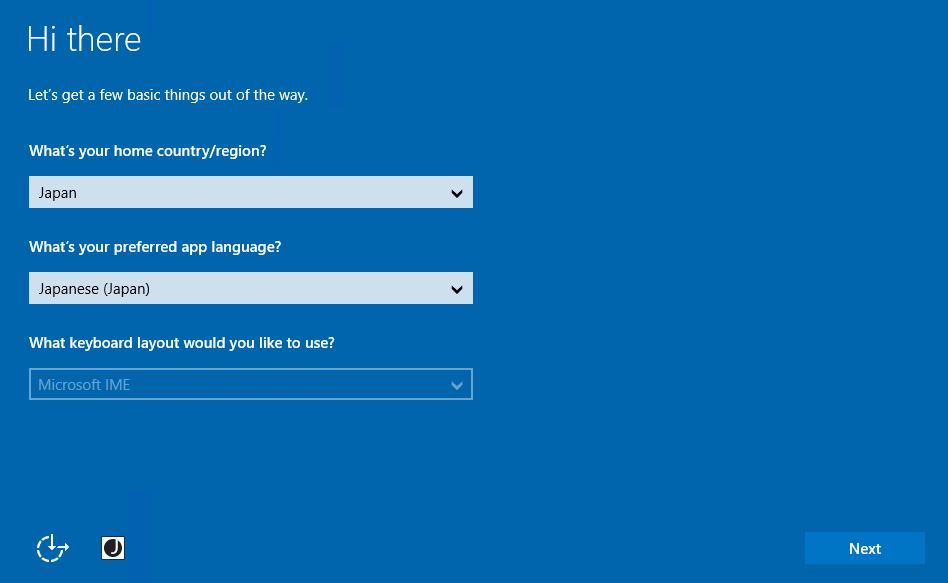
- You get the screen showing you need to select your region settings preference so that Windows Server setup completed with that configuration. Complete it and “Next”
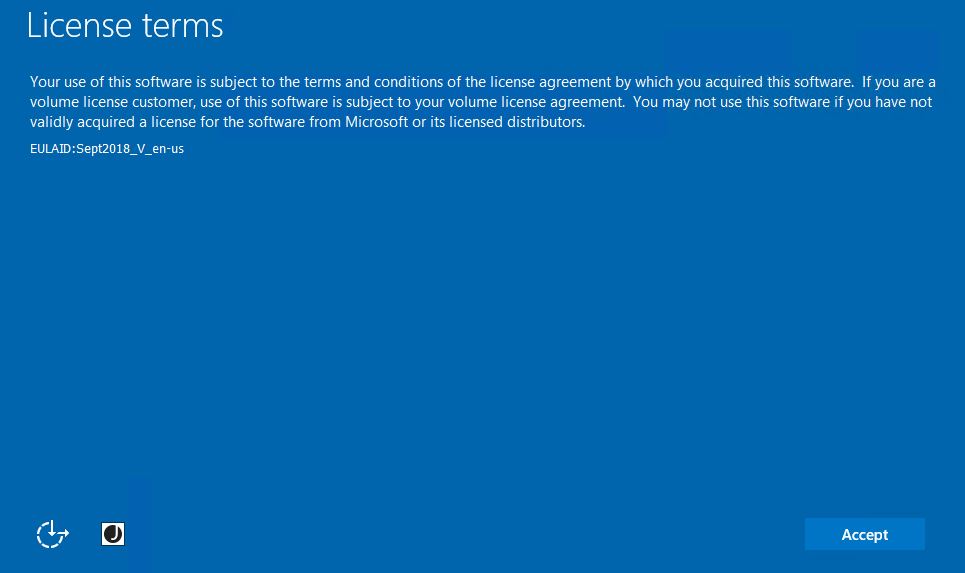
- Accept License terms.
- You need to enter the local administrator account password. Make sure the Keyboard layout is correct, and the password is the one you expected.
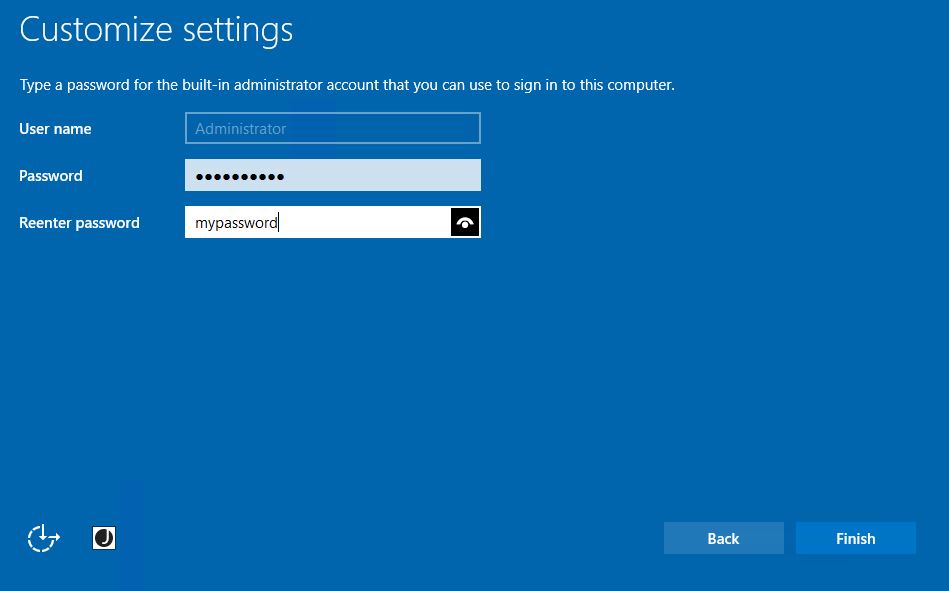
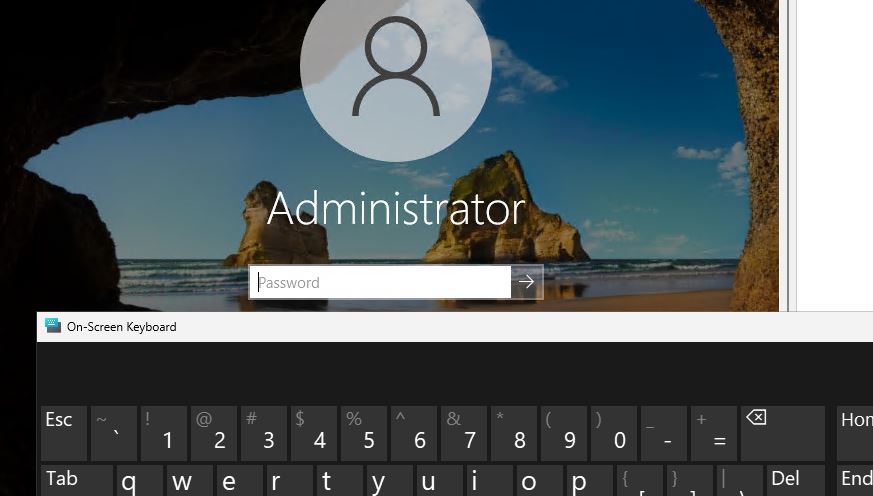
*Upper case, lower case alphabets and number must be mixed in password to comply the complex requirement. - You get the logon prompt screen from the fresh Windows server.
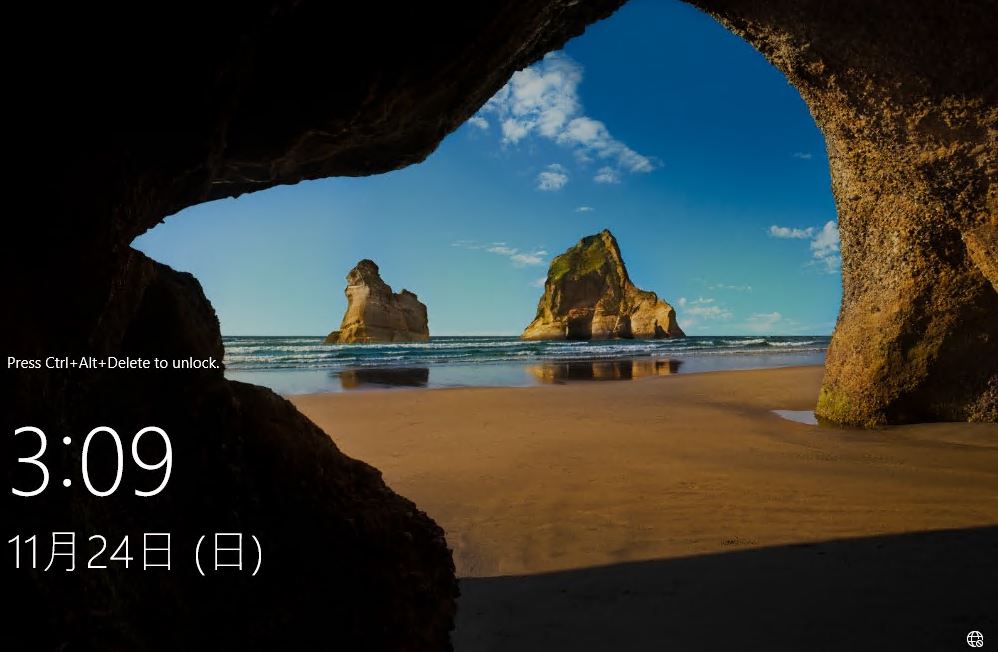
Ctrl + Alt + Delete, How?
- Whenever you log into the Hands-On Windows Machine from Workout VDI, you will see “Logon” screen with “Ctrl + Alt + Del” option. As you may be using windows machine to access Workout VDI, it may be hard that the Ctrl + Alt + is trapped. Even Ctrl + Alt + End in RDP session is not properly trapped.
- Search “On-Screen Keyboard” in your Workout VDI.
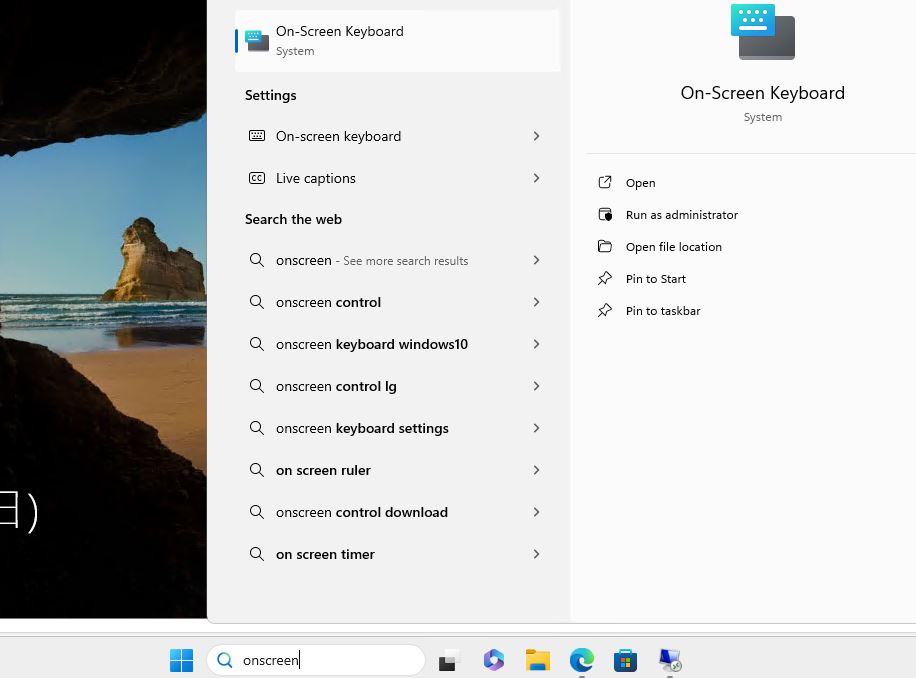
- Click “Hands-On Server Screen” window, and from On-screen keyboard.
“Ctrl” + “Alt” + “End”.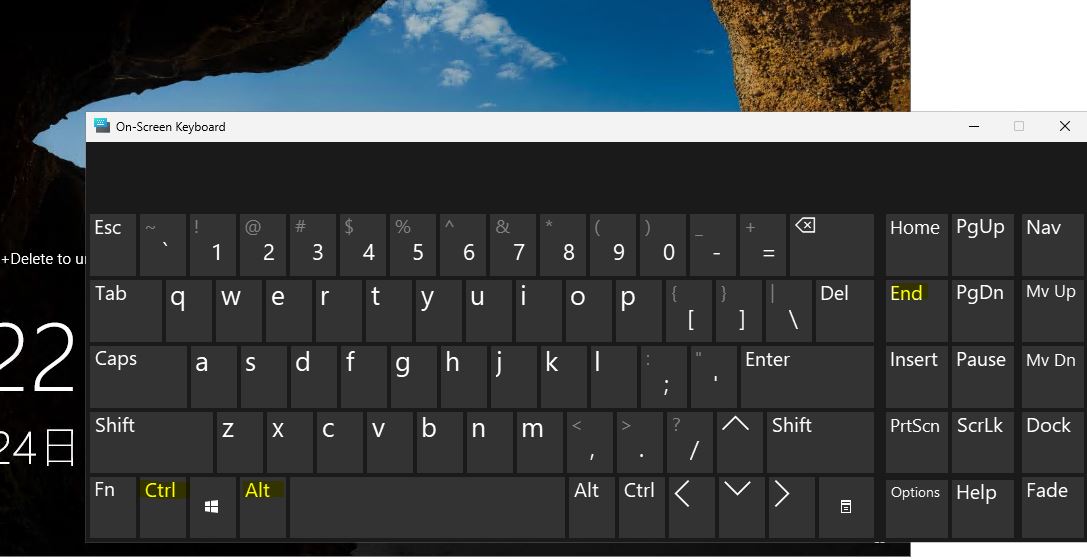
- Now you can type here to logon.
Name the Server Computer
- Log onto the server via Administrator.
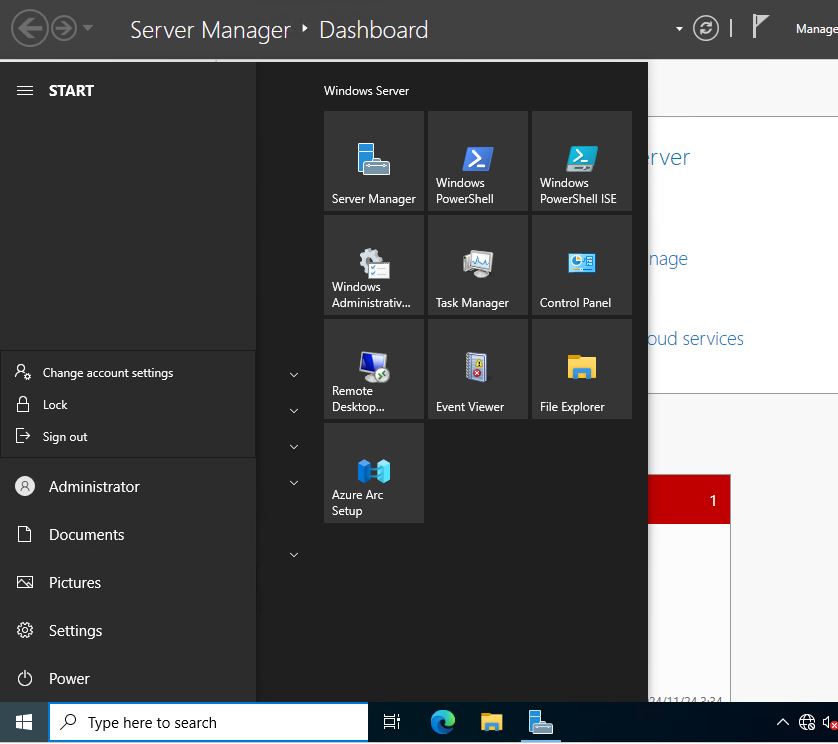
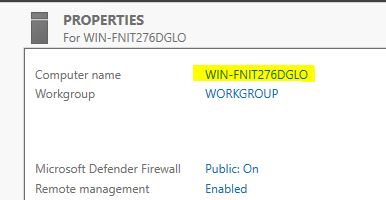
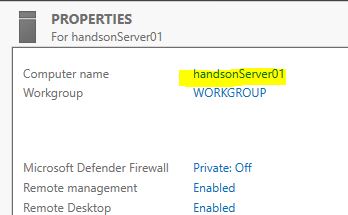
- Go to Server Manager -> “Local Server.” You will see summary of the system.
Be familiar with this Server Manager as you use this Standard Tools for many tasks.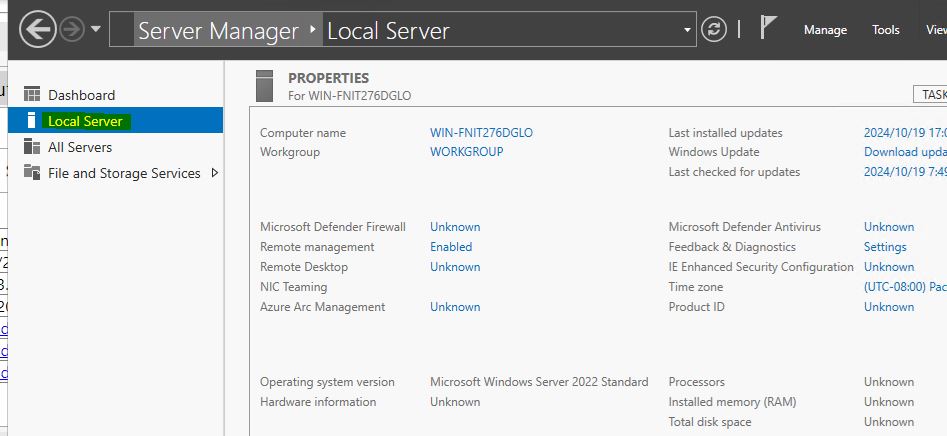
- Clock “Computer name”. (Name is set randomly so you are not yet naming the server.)
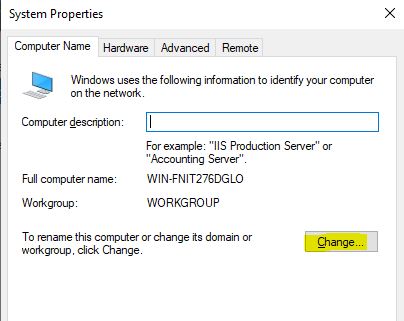
- System Properties pops up. Click “Change..” to change the name.
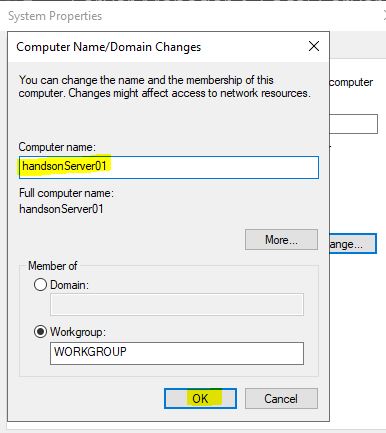
- Name the server and click “OK.”
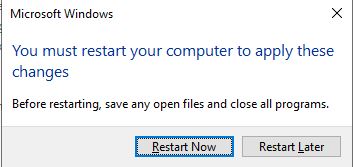
- Reboot the server as per the prompt.


Configure IP address/IP Settings
- Log onto the server via Administrator.
- Go to Server Manager and find “Ethernet” in Local Server. Click the configuration link.
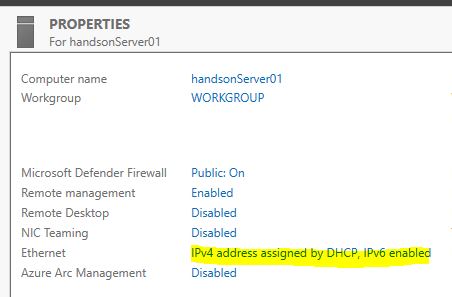
- Network Connections pops up and the “Ethernet” NIC item is the one you are going to configure.

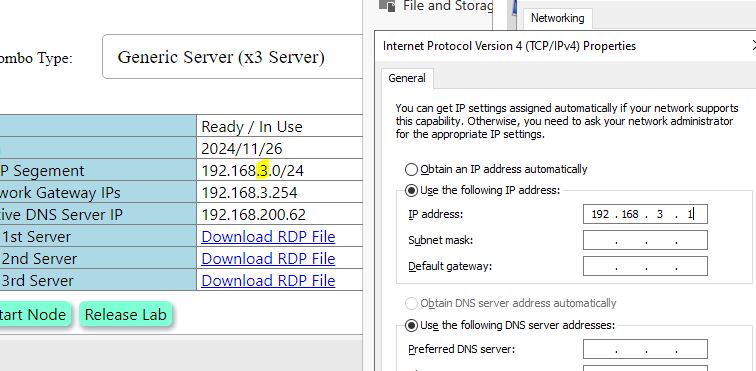
- On Your “Workout VDI”, check Self Service Portal. You can see IP Address Information in Your Hands-On Machine Combo Information.
So, one of IP from 192.168.*.* (From 1 to 249) is to be assigned to this Hands-On Machine. Consider 1st server will be 192.168.*.1. 2nd Sever will be 192.168.*.2. Your Client PC Virtual machine may have 192.168.*.101.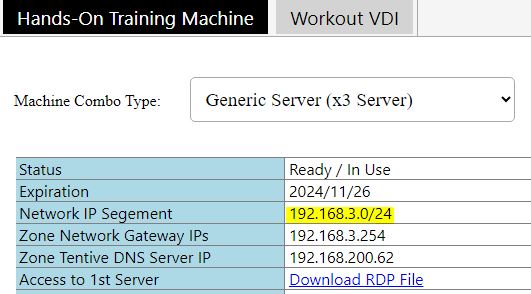
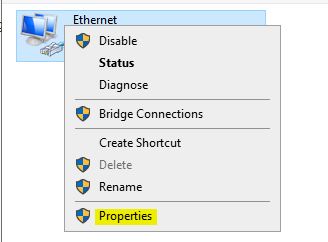
DO NOT USE *.254~*.250 as these IPs are reserved for the backend system. - Once you get the IP address decided in above, come back to Hands-On Machine screen, right click “Ethenet”, open “Properties”.
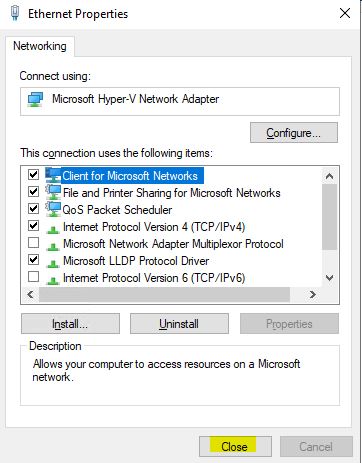
- IP V6 is NOT necessary as of now. So, untic this item.
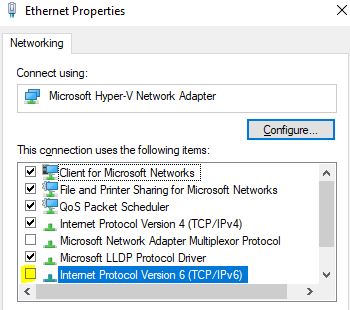
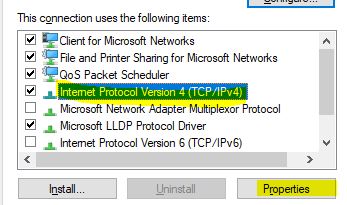
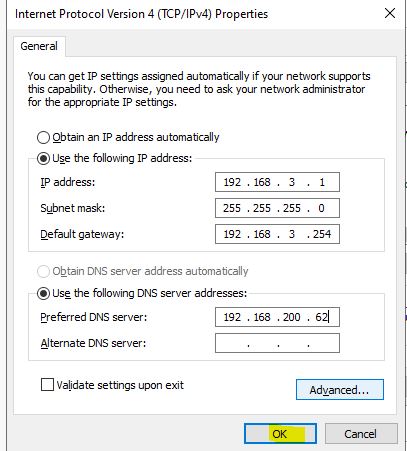
- Select”Internet Protocol version 4 (TCP/IPv4). And then, click “Properties” button.
- Select “Use the following IP address:” and set the IP you decided from Hands-On Machine information.
- Subnet Mask, and Default gateway is what you can see in Hands-On Machine Information.
*/24 = 255.255.255.0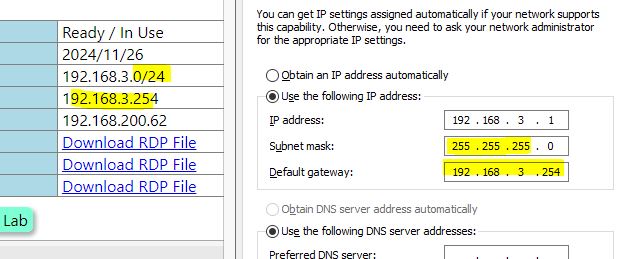
- Also, set the DNS according to the Hands-On Machine Information.
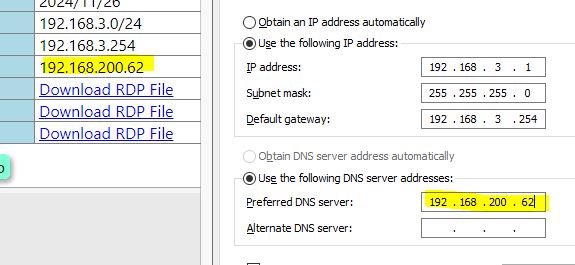
- Click “OK”.
- “OK” to close the Properties.
- You will see that the Network Is detected. This is good sign that you Configuration seems to be valid. Click “Yes” to continue without strong Firewall.

Enable Remote Desktop Access
- Log onto the server via Administrator.
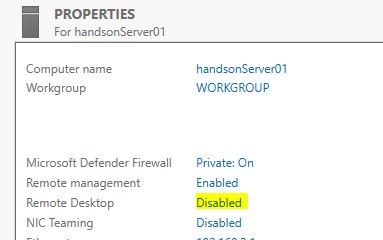
- Go to Server Manager and find “Remote Desktop” in Local Server. Click the configuration link (Currently it is “Disabled”).
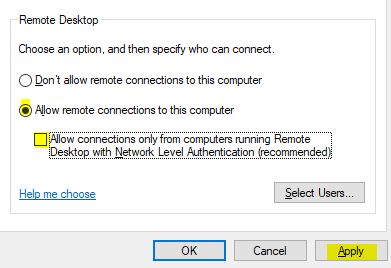
- At “Remote Desktop” section, select “Allow remote connections to this computer”. De-select the sub option item and “Apply”. “OK” to close.
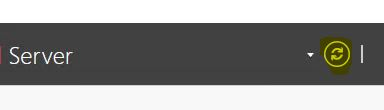
- Refresh the Server Manager Screen.
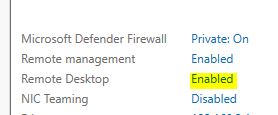
- Check “Remote Desktop” is turned on.
Configure Time zone
- Log onto the server via Administrator.
- Go to Server Manager and find “Time Zone” in Local Server. Click the configuration link.
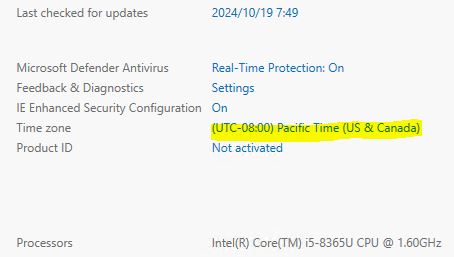
- At Date and Time tab, “Change time zone..” button.
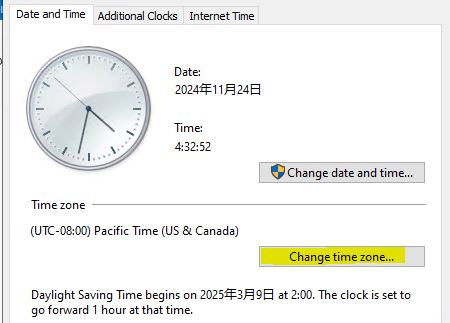
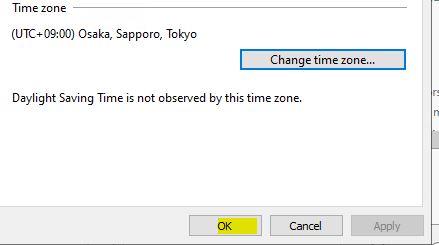
- Set the Time zone to your preference time zone and then OK.
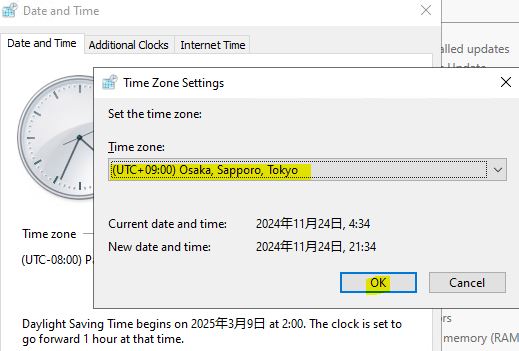
- OK to close the Time Zone settings.
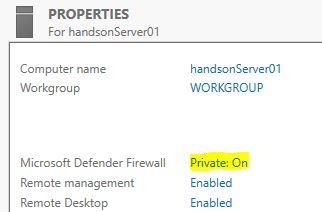
Configure Firewall
- Log onto the server via Administrator.
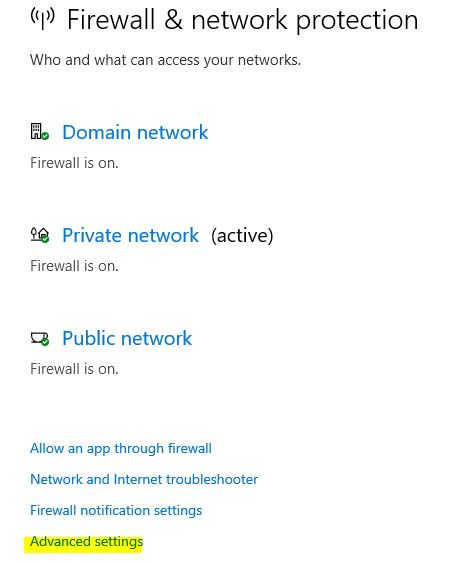
- Go to Server Manager and find “Windows Defender Firewall” in Local Server. Click the configuration link (As of now, it is something like “Private: On”).
- Click “Advanced Settings” from options.
- Advanced Security window pops up (maybe it will be hidden in previous Windows.)
From the Overview, click “Windows Defender Firewall properties.”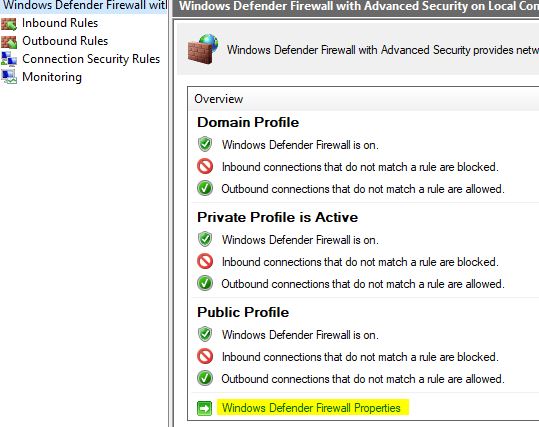
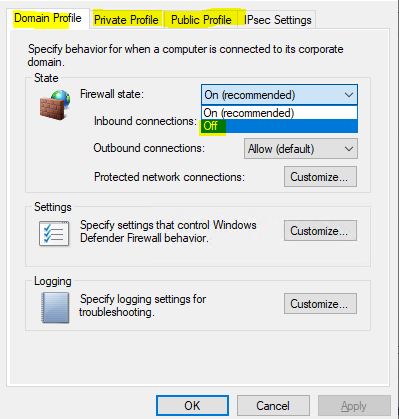
- At “Domain Profile“, “Private Profile” and “Public Profile” tabs, on each tab, change “Firewall state:” to “Off“. And then, “OK“.
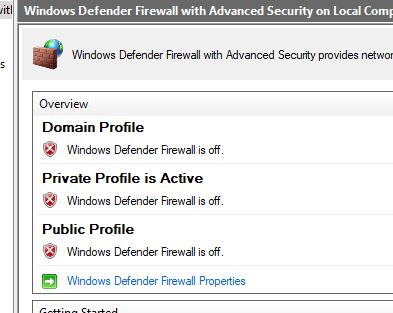
- At the Defender Advanced Security, “Refresh”.

- Confirm the Firewall at all Profiles got disabled.
- Close all window you opened in this step.
Configure Performance Settings
- Log onto the server via Administrator.
- Go to Server Manager and find “Computer name” in Local Server. Click the computer name link (The computer name is what you configured already.)
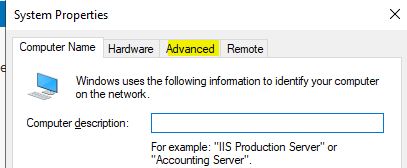
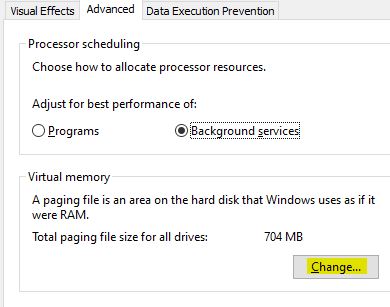
- At System Properties, select “Advanced”.
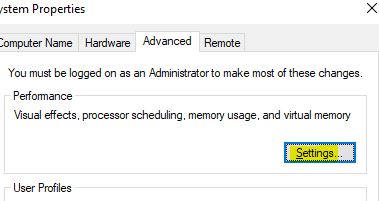
- Select “Settings” in Performance section.
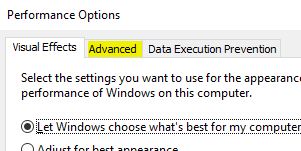
- performance Options pops up. Move to “Advanced” tab.
- At “Virtual Memory” section, “Change..”.
- At Virtual Memory property.
1. untick “Automatically manage ..”
2. Select “Custom size:”.
3. Set “4000” to Initial size and Maximum size.
4. Click “Set”.
5. Click “OK”.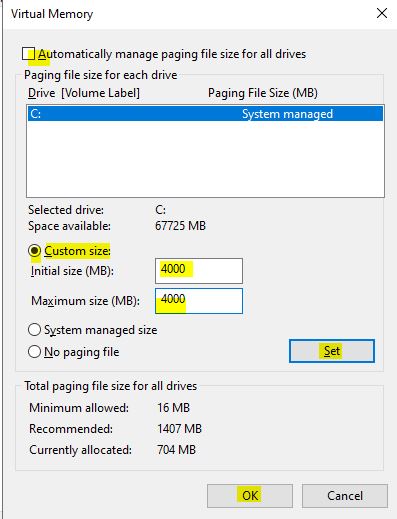
*Note: Virtual Memory is to be the fixed size. And the size is to be same as Memory size of system. (Hands-on Machine has 4GB system memory = 4000 MB). - Warning shows that the change will be reflected at next reboot.
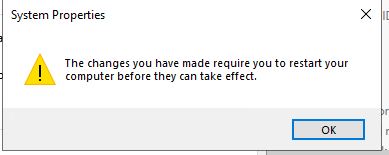
- Ok to close any properties and pop-ups.
- Reboot is prompted so please reboot the machine.
Connect Your Workout VDI to the Training Network
- Look back into Your “Workout VDI” machine and go to control panel.

- Go to “Network and Internet”, and then move to “View Network Status and Tasks”


- You will see your Workout VDI has Multiple Network connection now. And One network is not connecting to any external network now.
It is the one you can use for accessing to the Hands-On Training Network.
Click its “LAN Cable icon and link”.

- And then, Properties.

- Select “Internet Protocol Version 4 (TCP/IPv4)” and “Properties” button again.

- Here you have to configure the available IP address from the zone IP address.

- Example here, we use 200 in last octet of IP address.
(Follow to your Hands-On combo network.)
*192.168.1.200
IMPORTANT : You must keep Gateway on this NIC EMPTY.

- Complete the NIC configuration.


- You know the IP you configured at the Lab Training Kit Servers/Clients. Launch Command prompt and try ping to them.


- Now, use the Remote Desktop Client (RDP Client).

- Access to the node you use in Training.


** Your Hands-On machine access should use this Remote Desktop Connection Access. **
(As long as the target Hands-On machine is configured with IP address properly.)
Configure Extra Drive
- At any combo, 1st server (or a server in Combo) has 2nd drive available as empty disk.
you can try adding it.
- After you log into the Hands-On 1st Server, go to “Computer Management”.
(right click at Start Menu icon, use “Computer Management” from here)

- Move into “Disk Management” under “Storage” group in left pane tree.

- Notice that “Disk 1” has unknown disk getting offline status.

- Right click the Disk 1 (Left space of disk row.) and “Online“.

- Disk Status will change to “Not Initialized”.

- Right click the disk Label area and “Initialize Disk“

- Go for GPT Disk partition and “OK”.

- Now the disk looks normal as usual.

- Right click the Disk Space area, and “New Simple Volume”.

- Volume creation wizard starts. Proceed via Next, Next, Next, Next.


- Confirm the Volume creation and disk space format are ready. And then, Finish.

- Confirm the new volume got formatted and drive letter gets assigned.

- Go to the File Explorer in the Server and check D: Drive is accessible and ready.

